Confocal Reflection Method
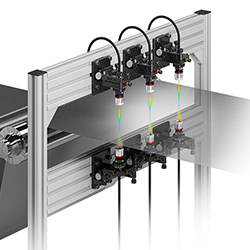
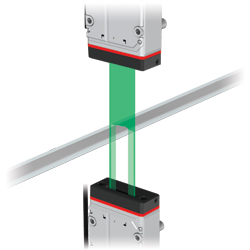
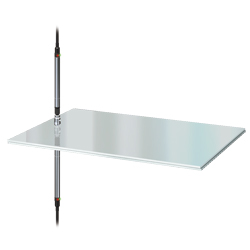
Thickness measurements are preformed using two sensors to sandwich the target. With a transparent target, the thickness can be measured directly with a single sensor on either side.
Key points:
- High-accuracy non-contact measurement of various target materials and colors
- Measurement maintains accuracy even with target warpage or tilt
- Simple measurement setup thanks to dedicated jigs and installation support functions
Application examples:
- Thickness of film and foil for packaging
- Thickness of glass panels
- Thickness of various materials (plastics, metal, black rubber, gel, mirrors, sealants, adhesives, etc.)
- Thickness of printed boards
- Measurement of machine-made parts (eg brake discs)
Triangulation Reflection Method
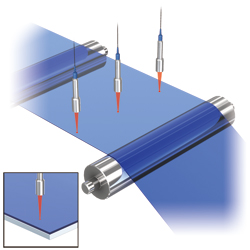
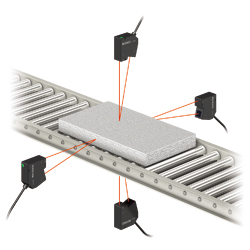
Thickness measurements are performed using two sensors to sandwich the target. With a transparent target, the thickness can be directly measured through exposure from only one side.
- Non-contact thickness and width measurement of large targets when using long-range sensor heads
- High-speed sampling for inline, total-length inspection
- Target selection not determined by transparency/opacity or color.
Application examples:
- electrode thickness measurement
- rotor vibration measurement
- controlling the position of the air knife
- active measurement of layers on solar panels
- checking the accuracy of the composition of the zoom lens
- connector height measurement
Spectral Interference Reflection Method
Although systems with two sensors are common, if the position of one side is predetermined or if the target is transparent, measurement with one sensor is possible.
Detection methods differ according to the measurement conditions, and sometimes special arrangements can be made. Contact your nearest sales office with any questions.
- Ultra-high accuracy with 1 nm resolution
- Unaffected by ambient temperature
- Silent operation
Application examples:
- Measurement of the thickness of high-precision electronic components (e.g. wafers thickness)
- Measurement of components in precision machines (roller operation in copy machines)
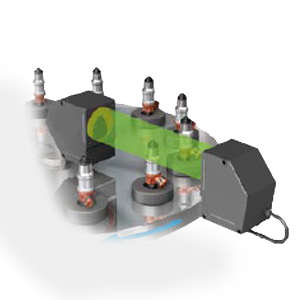
Optical Thrubeam Method
Thickness measurement is performed by measuring the height of a target as a step height relative to a reference surface.
- Measurement possible at multiple locations simultaneously
- Highly stable
Application examples:
- total width and angle on springs
- outer diameter and angle of the top of the valve
- outer diameter and angle of the tip of medical needles for syringes
- diameter and height of the lens
- maximum and minimum ampule diameter
- measuring threads on PET bottles
- measurement of the diameter of the O seal
Contact-Type
Thickness measurements are performed using two sensors to sandwich the target. The contact-type system allows for highly accurate measurement.
- Target selection only determined by solidity
- High-precision measurement possible
- Sturdy and robust: IP-67 protection
- simplified setup
- zero point adjustment with a single push of a button
- Data communication with 10 amps
- selection of a target is determined only by firmness
- possibility of precision measurement
- measurement of the thickness is done using two sensors with object of measurement in between
- contact method allows high accuracy measurement.
- suitable for implementation in automatic, semi-automatic and manual machines, compact and easy to install as it requires very little space.
Application examples:
- In the automotive industry for measuring the external / internal diameter of the components, inspection of discs, loss on camshafts, checking the level of the engine block / oil tank
- In metalworking industry for checking the completeness of bearings, dimensional measurement during metal processing
- For electronic components, checking the flatness of the battery, the base of the smartphone, checking the completeness of motherboards, hard drives, etc.
- Measurement of thickness / height / flatness of semiconductor and liquid crystals
- In the food industry, checking duplicated labels, product overload, etc.


