When choosing an optimal solution for measuring run-out / vibration / eccentricity, certain factors should be considered: type of run-out or vibration (direction), type of measuring system that is used and installation environment. Choosing equipment that does not suit your needs can cause insufficient precision and unnecessary increase of working hours in production.
Gap / clearance measurement
Triangulation Laser Displacement Sensor
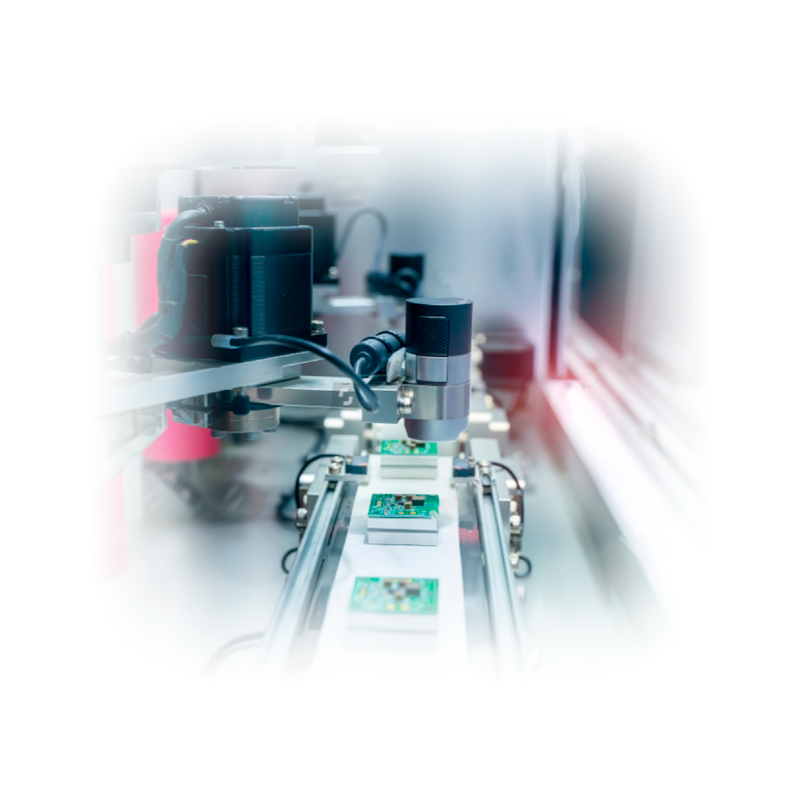
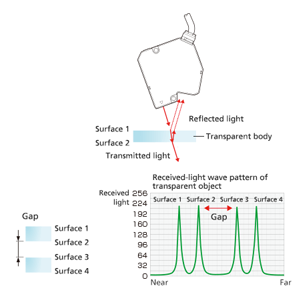
For transparent surfaces such as touch panels, the surface is illuminated from the top with the laser, so that gaps could be measured by the light transmitted through the object.
- Non-contact measurement of the thickness and width of large objects when using the long range sensor head
- Quick sampling for inline, overview of total length
- Target selection is not determined by transparency / transparency or color.
Examples of applications:
- Measurement of electrode thickness
- Measuring rotor vibration
- Controlling the position of the air knife
- Active measurement of layers on solar panels
- Checking the accuracy of the composition of the zoom lens
- Measuring height of the connector
Thrubeam optical micrometer
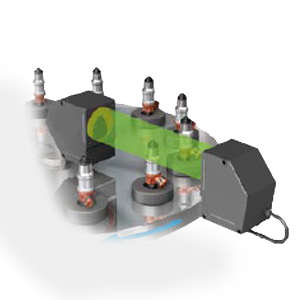
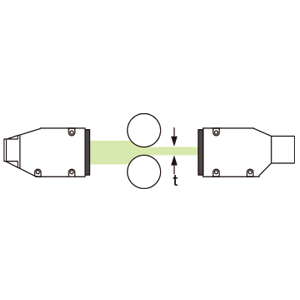
Measuring the gap between the roll surfaces is done by the thrubeam method by measuring the width of the light beam that passes between two roll surfaces.
At the same time it is possible to measure the loss and distance. The space for mounting the sensor must be provided on the left and on the right.
- Multifunctional measuring display
- Easy visual adjustment via picture menus
- IP67 protection
- Precise measurement not affected by room temperature and other ambient changes
- An internal optical unit housed in an insulated enclosure for protection of optics
- IEC 68-2-29 standard
Application examples:
- Measurement of ultra thin wire diameter (10 and 80μm)
- Using two threshold settings, it is possible to measure two different transparencies on the same object at the same time
- Measuring the outer diameter of the engine shaft
2D Laser Displacement Sensors
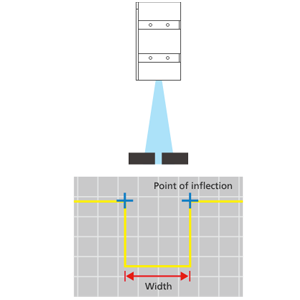
With the use of laser 2D technology, the laser beam is reflected back to the sensor and is used to create profiles of the object that is measured. From this profile we can measure characteristics such as height and spacing.
Application examples:
- Final inspection of the welds
- Measurement of deformation / flatness on motherboards, etc.
- Measurement of profile and cross sections
- Determining the width and position of the measuring object (e.g. cutting plates)
- Measuring the angle of the processed products
- Measuring the thickness of the housing


