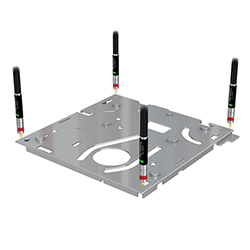
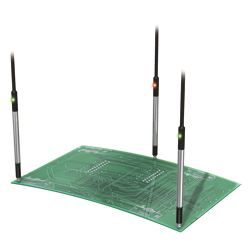
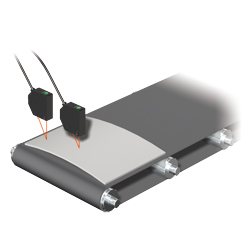
Warpage is generally measured by detecting a target at three points.
Measurement is also possible by moving a target with a point-type sensor, or by directly measuring the shape by projecting a laser in a horizontal line.
Depending on measurement conditions and targets, methods may differ and special arrangements can be made, so contact your nearest sales office with any questions.
Warpage / flatness measurement
Light-Cut Method
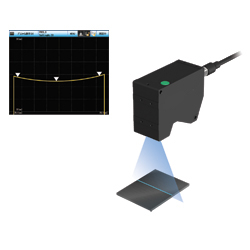
Shapes are directly measured by exposing the target to a line laser. Warpage is then measured using the measured waveform data. Also, by moving the target while scanning, 3D shape measurements are also possible.
Key points:
- Possible to measure 2D height within a line
- Unlimited target selection at ultra-high speeds
- Ability to output waveform data
Application examples:
- Final inspection of the welds
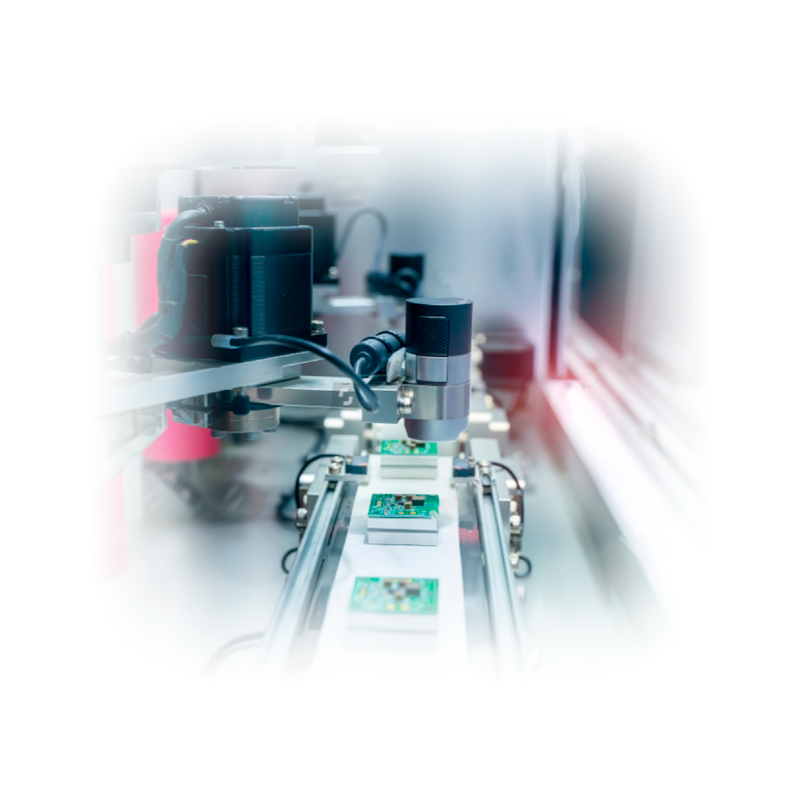
- Measurement of deformation / flatness on motherboards, etc.
- Measurement of profile and cross sections
- Determining the width and position of the measuring object (e.g. cutting plates)
- Measuring the angle of the processed products
Confocal Reflection Method
Using ultra-compact and lightweight sensors makes it possible to install multiple heads in parallel. By capturing height data at multiple locations on a target, warpage can be calculated inline.
Key points:
- High-accuracy non-contact measurement on any surface
- Ultra-compact and lightweight for easy installation
- Stable, repeatable measurement across a wide range
Application examples:
- Thickness of packaging film and foil
- Thickness of glass panels
- Thickness of various materials (plastics, metal, black rubber, gel, mirrors, sealants, adhesives, etc.)
- Thickness of printed boards
- Measurement of machine-made parts (e.g. brake discs)
Triangulation Reflection Method
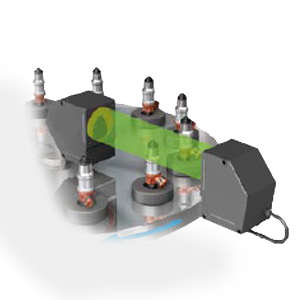
After scanning a target using an optical reflective-type measurement instrument, the warpage is measured using the height data of any three points. These Series offer ultra-high speed sampling, allowing for stable measurements even with scanning.
Key features:
- Target selection not determined by transparency/opacity or color
- Non-contact measurement possible
- Small beam spot and high speed
Application examples:
- electrode thickness measurement
- rotor vibration measurement
- Controlling the position of the air knife
- Active measurement of layers on solar panels
- Checking the accuracy of the composition of the zoom lens
- Measuring connector height
Contact-type
To measure warpage, contact sensors are used for detection at three points.
Measurement can be easily performed by setting the warpage measurement mode using the calculation function of these Series instruments.
Key features:
- Target selection only determined by solidity
- High-precision measurement possible
Contact method allows high accuracy measurement.
Suitable for implementation in automatic, semi-automatic and manual machines, compact and easy to install as it requires very little space.
Application examples:
- In the automotive industry for inspection of discs, checking the level of the engine block / oil tank
- In metalworking industry for dimensional measurement during metal processing
- For electrical components to check the flatness of the battery, the base of smartphone, hard drives etc.
- Measurement of thickness / height / plane of semiconductor and liquid crystals
In the food industry, the deformity check due to the overfilling of products etc.


